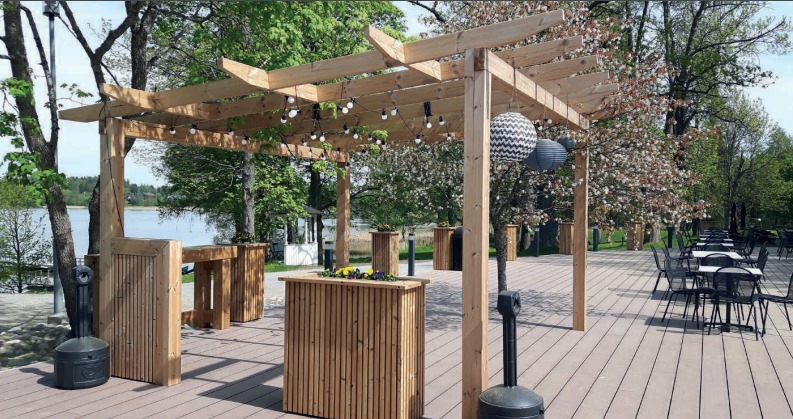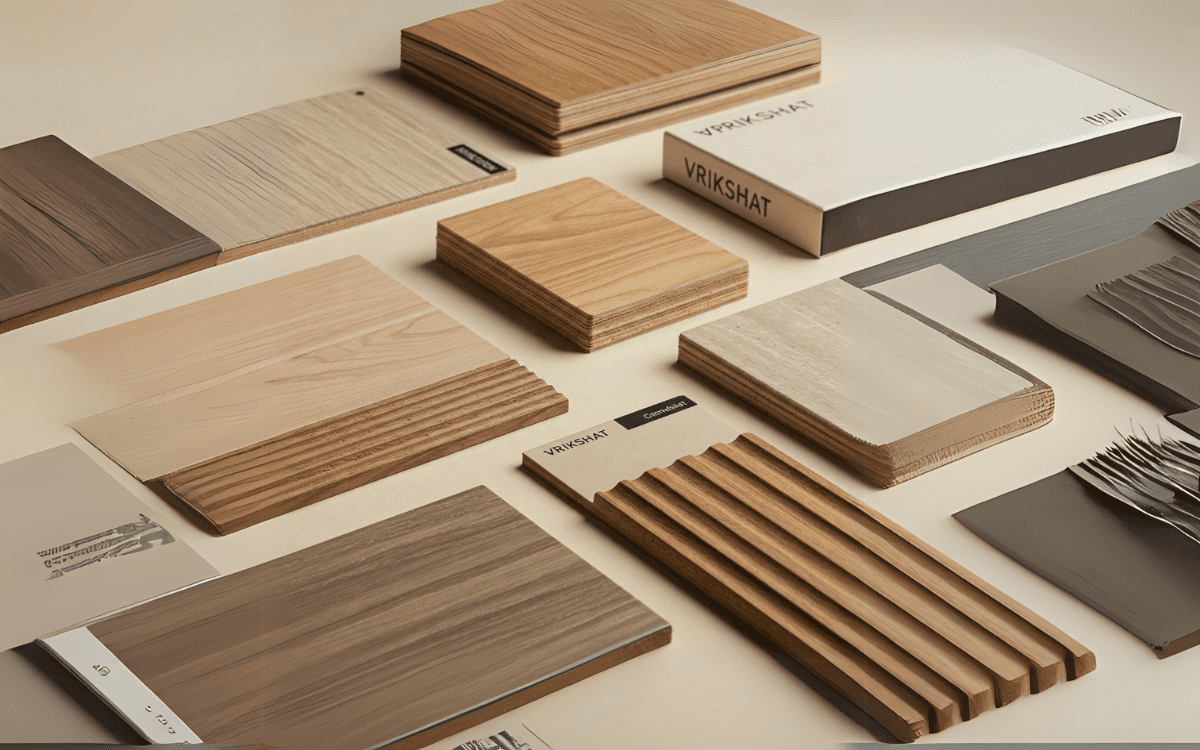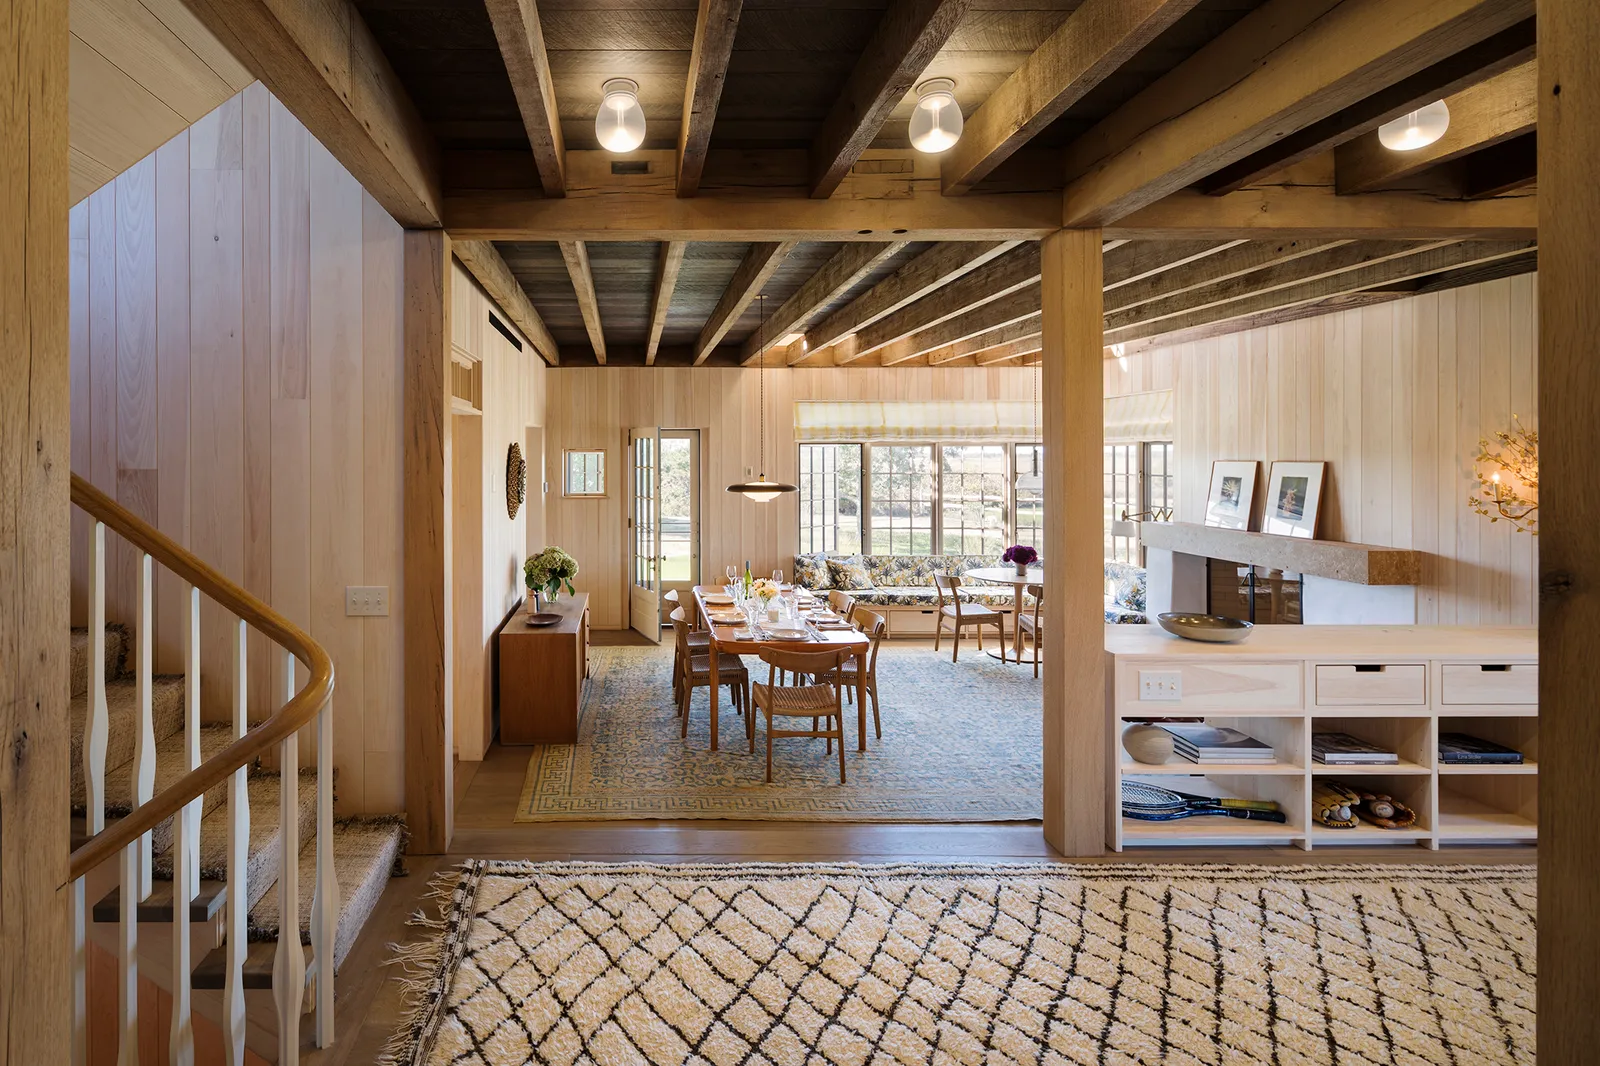
Thermopine panelling, made from first-rate pine wood, is gaining recognition as a fashionable and durable preference for indoor wall paneling. Its natural appeal, versatility, and simplicity of setup make it an attractive choice for owners looking to decorate their dwelling areas.
In this blog, we’ll take you through the step-by-step technique of putting in thermopine paneling, transforming your private home into a modern-day and welcoming haven.
Step 1: Gather Your Materials
Before embarking on any DIY undertaking, it’s important to make sure you have all the vital materials at hand. For installing modern wood wall paneling, you will need:
- Thermopine panels
- Measuring tape
- Level
- Pencil
- Saw
- Nails or adhesive
- Stud finder (if attaching panels to studs)
- Construction adhesive (if you are not using nails)
Step 2: Measure and Plan
Start by measuring the place where you plan to install the pine wood paneling. Accurate measurements are key to ensuring an unbroken setup. Take into account any doorways, home windows, or corners that can affect the panel format. Plan the panel placement, deciding whether you need a vertical or horizontal association.
Step 3: Prepare the panels
If your panels are not already reduced to the preferred length, use a saw to trim them to match the wall’s dimensions. Ensure the rims are clean and unfastened from splinters. Sanding the edges can be essential for a sophisticated finish.
Step 4: Locate Wall Studs
To steady the panels properly, you’ll need to connect them to wall studs. Use a stud finder to locate the studs at the back of your walls. Mark those places with a pencil to guide your installation.
Step 5: Start from the bottom
Begin the installation at the bottom of the wall. Apply construction adhesive along the back of the first panel or area nails at the panel’s base. Align the panel with the floor and press it firmly in opposition to the wall. Use a stage to ensure it is flawlessly direct. If you are using nails, drive them into the studs you marked in advance.
Step 6: Continue Upward
Work your way up the wall, attaching panels one after the other. Ensure every panel is degree and that the edges are healthy snugly in opposition to the preceding one. For a steady hold, either use adhesive generously or nail panels into the studs. Repeat this method until you reach the top of the wall.
Step 7: Cut panel openings
For areas around home windows, doors, or shops, you may need to cut panels to suit the openings. Measure and mark the size as it should be, then use a saw to make unique cuts. Ensure the cutout panels fit seamlessly around these functions.
Step 8: Apply Trim
To give your thermopine panelling a finished appearance, take into account trimming along the edges and corners. Trim can hide gaps and create a cultured look. Attach trim pieces with adhesive or nails, making sure they are level and flush with the panels.
Step 9: Fill Gaps and Nail Holes
Inspect the installed panels for any gaps or visible nail holes. Fill those imperfections with wood filler or putty. Once dry, sand the stuffed regions to create a smooth floor.
Step 10: Finish and Seal
To guard your thermopine panelling and enhance its herbal beauty, follow a timber finish or sealant. This step not only provides a layer of safety but additionally deepens the wood’s color and grain styles. Follow the manufacturer’s instructions for the selected finish.
Step 11: Final Inspection
Once your pine wood paneling is in place, take a step lower back and look into the whole wall. Ensure all panels are securely attached, level, and free from defects.
Step 12: Enjoy Your New Space
With the set-up complete, step again and respect your converted dwelling area. Thermopine paneling has the energy to breathe new life into your interior layout, adding warmth, texture, and a hint of modern beauty.
Conclusion
Installing thermopine panelling in your home can be a rewarding DIY challenge that elevates your interior design. With careful planning, precise measurements, and interest in the element, you could achieve an expert-looking end result. Whether you’re aiming for a cozy, rustic environment or a swish, current look, thermopine paneling offers limitless possibilities for reinforcing your dwelling spaces.
Follow this step-by-step guide, and you will soon be enjoying the beauty and practicality of your newly paneled partitions.